







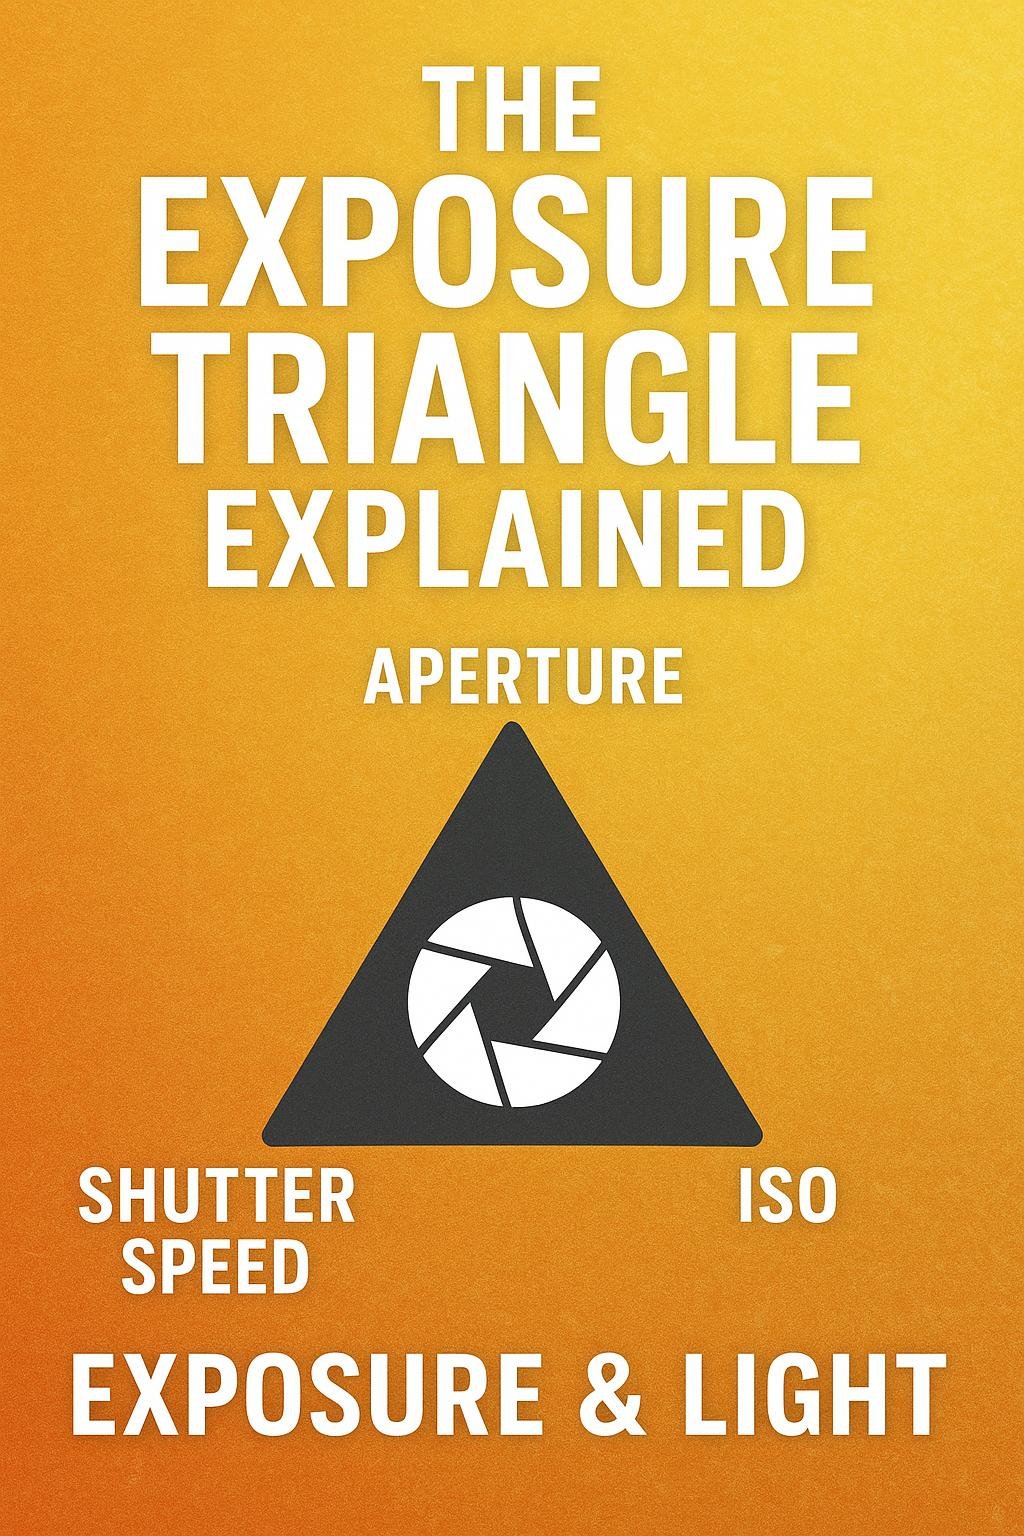
The exposure triangle is a way of picturing how aperture, shutter speed and ISO work together. Each is one corner. Change one and, to keep the same brightness, at least one of the others has to change in the opposite direction. The earlier lessons looked at each setting alone; this one is about the relationship between them.
Each corner has a side effect
| Setting | More light or brightness | Side effect of that choice |
|---|---|---|
| Aperture | Lower f-number (f/2.8) | Shallower depth of field |
| Shutter speed | Longer time (1/30 s) | More motion blur |
| ISO | Higher value (3200) | More noise |
This is the heart of the triangle. There is no free way to make a photo brighter. Every option costs something, and the skill lies in choosing the cost that matters least for the picture in front of you.
Stops are the common currency
All three settings are measured in stops, where one stop is a doubling or halving of light. Because the unit is shared, the settings can be exchanged one for one. Give one stop with aperture, take one stop with shutter speed, and the exposure is unchanged.
Equivalent exposures
Every row below produces the same brightness at ISO 200 on an overcast afternoon.
| Aperture | Shutter speed | Character of the photo |
|---|---|---|
| f/2.8 | 1/1000 s | Blurred background, action frozen |
| f/4 | 1/500 s | Soft background, movement sharp |
| f/5.6 | 1/250 s | Balanced |
| f/8 | 1/125 s | Good depth, still subjects sharp |
| f/11 | 1/60 s | Deep focus, moving subjects start to blur |
| f/16 | 1/30 s | Maximum depth, tripod advisable |
ISO adds a third dimension. Raising ISO from 200 to 800 shifts the whole shutter speed column two stops faster: f/8 would then pair with 1/500 s.
A worked example
You are photographing a child’s birthday party indoors. The camera suggests f/5.6, 1/30 s, ISO 400. The exposure is correct, but children move, and 1/30 s will blur them. The target is 1/250 s, which is three stops faster. Those three stops must be found elsewhere.
- Open the aperture from f/5.6 to f/2.8. That recovers two stops, at the cost of shallower depth of field.
- Raise ISO from 400 to 800. That recovers the third stop, at the cost of a little noise.
The new settings are f/2.8, 1/250 s, ISO 800. Brightness is unchanged and the children are sharp. If the lens only opens to f/4, one stop comes from aperture and two from ISO, giving f/4, 1/250 s, ISO 1600.
Decide what matters most
For any photograph, one of the three side effects is usually the priority. Set that corner first and let the others follow.
- Depth of field matters most (portraits, landscapes): choose the aperture first.
- Motion matters most (sport, children, waterfalls): choose the shutter speed first.
- Image quality matters most (tripod work, studio): fix ISO at its base value first.
The triangle and camera modes
The shooting modes are simply different ways of dividing the triangle between you and the camera. In Aperture Priority you hold one corner and the camera moves another. In Shutter Priority the roles swap. In Manual you hold all three, and with Auto ISO in Manual mode you hold aperture and shutter speed while the camera balances with ISO. None of the modes changes the underlying relationship.
Limits of the model
The triangle describes brightness only. It does not tell you what the correct brightness is; that comes from the light meter and your own judgement. It also treats ISO as equal to the other two, although ISO does not add light. Aperture and shutter speed set how much light is captured, and ISO decides how bright that captured light is rendered.
Common mistakes
- Changing one setting in Manual mode and forgetting to compensate with another.
- Always solving a lack of light with ISO, when a wider aperture was available.
- Memorising settings instead of understanding the trade. Light changes; the relationships do not.
- Ignoring side effects and judging a photo by brightness alone.
Practice exercise
- In Manual mode at ISO 400, find a correct exposure at f/5.6 for a scene with some depth.
- Produce the same brightness four more ways: two by trading aperture against shutter speed, two by trading ISO against shutter speed.
- Confirm that all five frames are equally bright, then list how each differs in background blur, motion and noise.
Next in this series: How to Balance ISO, Aperture and Shutter Speed, Overexposure vs Underexposure Explained and How to Read a Camera Light Meter. You can also browse all photography lessons.