







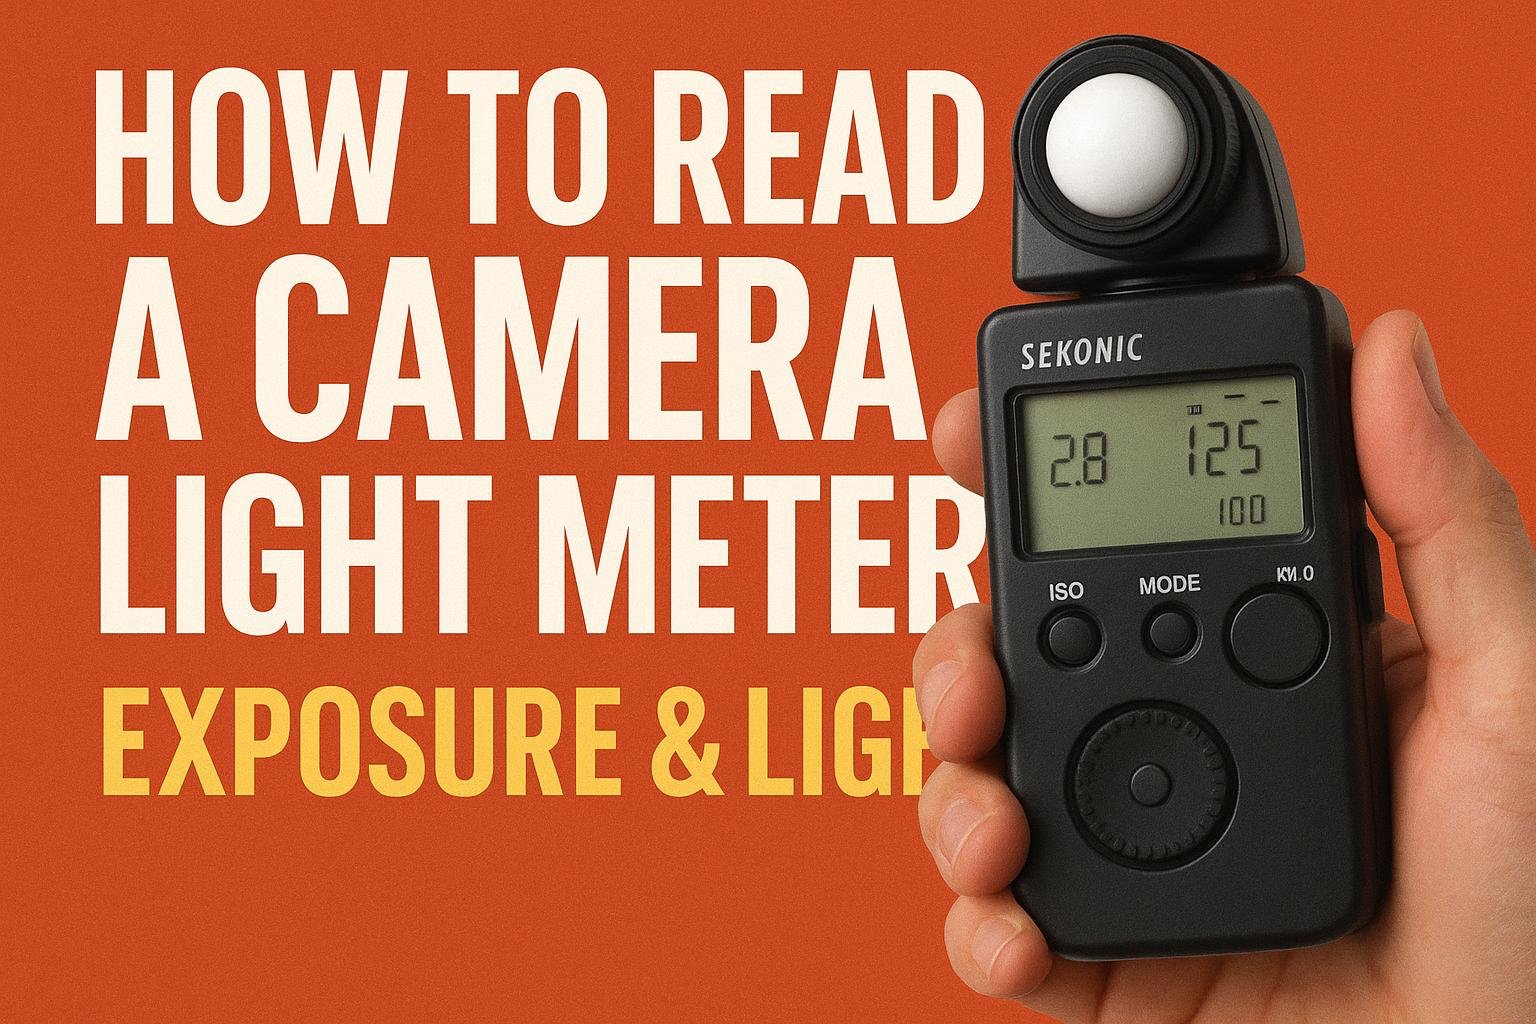
Every camera has a built-in light meter. It measures the light coming through the lens and reports whether the current settings will give a photo that is too dark, too bright or about right. Reading it correctly, and knowing when it is wrong, is the last step towards controlling exposure yourself.
The exposure scale
The meter appears in the viewfinder or on the screen as a scale like this:
−3 · · −2 · · −1 · · 0 · · +1 · · +2 · · +3
The numbers are stops. A marker moves along the scale as the light or the settings change. Each small dot is one third of a stop.
- Marker at 0: the camera considers the exposure correct.
- Marker on the minus side: the photo will be darker than the camera recommends.
- Marker on the plus side: the photo will be brighter.
- A blinking marker or an arrow at the end of the scale: the exposure is off by more than the scale can show.
Half-press the shutter button to wake the meter.
Using it in Manual mode
- Set the ISO and the aperture you want.
- Point the camera at the subject and half-press the shutter button.
- Turn the shutter speed dial until the marker sits at 0.
- Take the photo and check the histogram.
For example, at ISO 200 and f/5.6 the marker shows −2. Slowing the shutter speed from 1/500 s to 1/125 s adds two stops and brings it to 0.
In Aperture Priority and Shutter Priority the camera centres the meter automatically. The scale then shows the exposure compensation you have applied.
What the meter is trying to do
The meter measures light reflected from the scene, and it has no idea what it is looking at. It assumes that every scene, averaged out, should be a medium tone, often described as middle grey or 18% grey. For typical scenes with a mix of light and dark, this assumption works very well.
It fails when the scene is mostly very bright or mostly very dark. A field of snow is rendered grey and dull. A black cat on a dark sofa is rendered grey and washed out. In both cases the meter read 0 and was still wrong. The fix runs against instinct: for bright scenes add exposure, for dark scenes reduce it.
| Scene | Compensation |
|---|---|
| Snow or white sand in sun | +1 to +2 |
| Person against a bright sky or window | +1 to +2 |
| Mostly pale subject on a pale background | +1 |
| Average scene | 0 |
| Spotlit performer on a dark stage | −1 to −2 |
| Dark subject on a dark background | −1 |
Metering modes
The metering mode decides which part of the frame the meter considers.
- Matrix, evaluative or multi-segment: analyses the whole frame and weighs the zones intelligently. The best default; use it most of the time.
- Centre-weighted: measures the whole frame but gives most importance to the middle. Predictable, and good for portraits with the subject near the centre.
- Spot: measures only a small area, around 2 to 5 percent of the frame. Useful for a face in difficult light, such as a backlit portrait or a performer on stage. It is precise but unforgiving: point it at something very dark or very bright and the exposure will be far out.
- Highlight-weighted (on some cameras): exposes to protect the brightest areas.
Exposure lock
The AE-L button, marked with an asterisk on Canon, holds the current meter reading. Point the camera at the area you want exposed correctly, press AE-L, recompose and shoot. This is a quick way to handle a backlit subject without changing the metering mode.
Common mistakes
- Treating 0 as correct in every situation.
- Leaving the camera in spot metering by accident, which causes exposures to jump unpredictably from frame to frame.
- Applying compensation in the wrong direction for snow or backlit subjects.
- Metering, then recomposing to a much brighter or darker area without locking exposure.
- Forgetting to reset exposure compensation to 0.
Practice exercise
- Fill the frame with a sheet of white paper in even light. In Aperture Priority at 0 compensation, take a photo. Do the same with something black.
- Compare the two. Both will look grey.
- Reshoot the white sheet at +1⅔ and the black object at −1⅔, and see them return to their true tones.
- Photograph a person in front of a window using matrix, centre-weighted and spot metering on the face. Compare the three results.
Next in this series: Overexposure vs Underexposure Explained, How to Balance ISO, Aperture and Shutter Speed and The Exposure Triangle Explained. You can also browse all photography lessons.